The past week has brought several positive developments in my effort to build a fully functional Pi-based weather station.
The short version is that everything works…kind of.
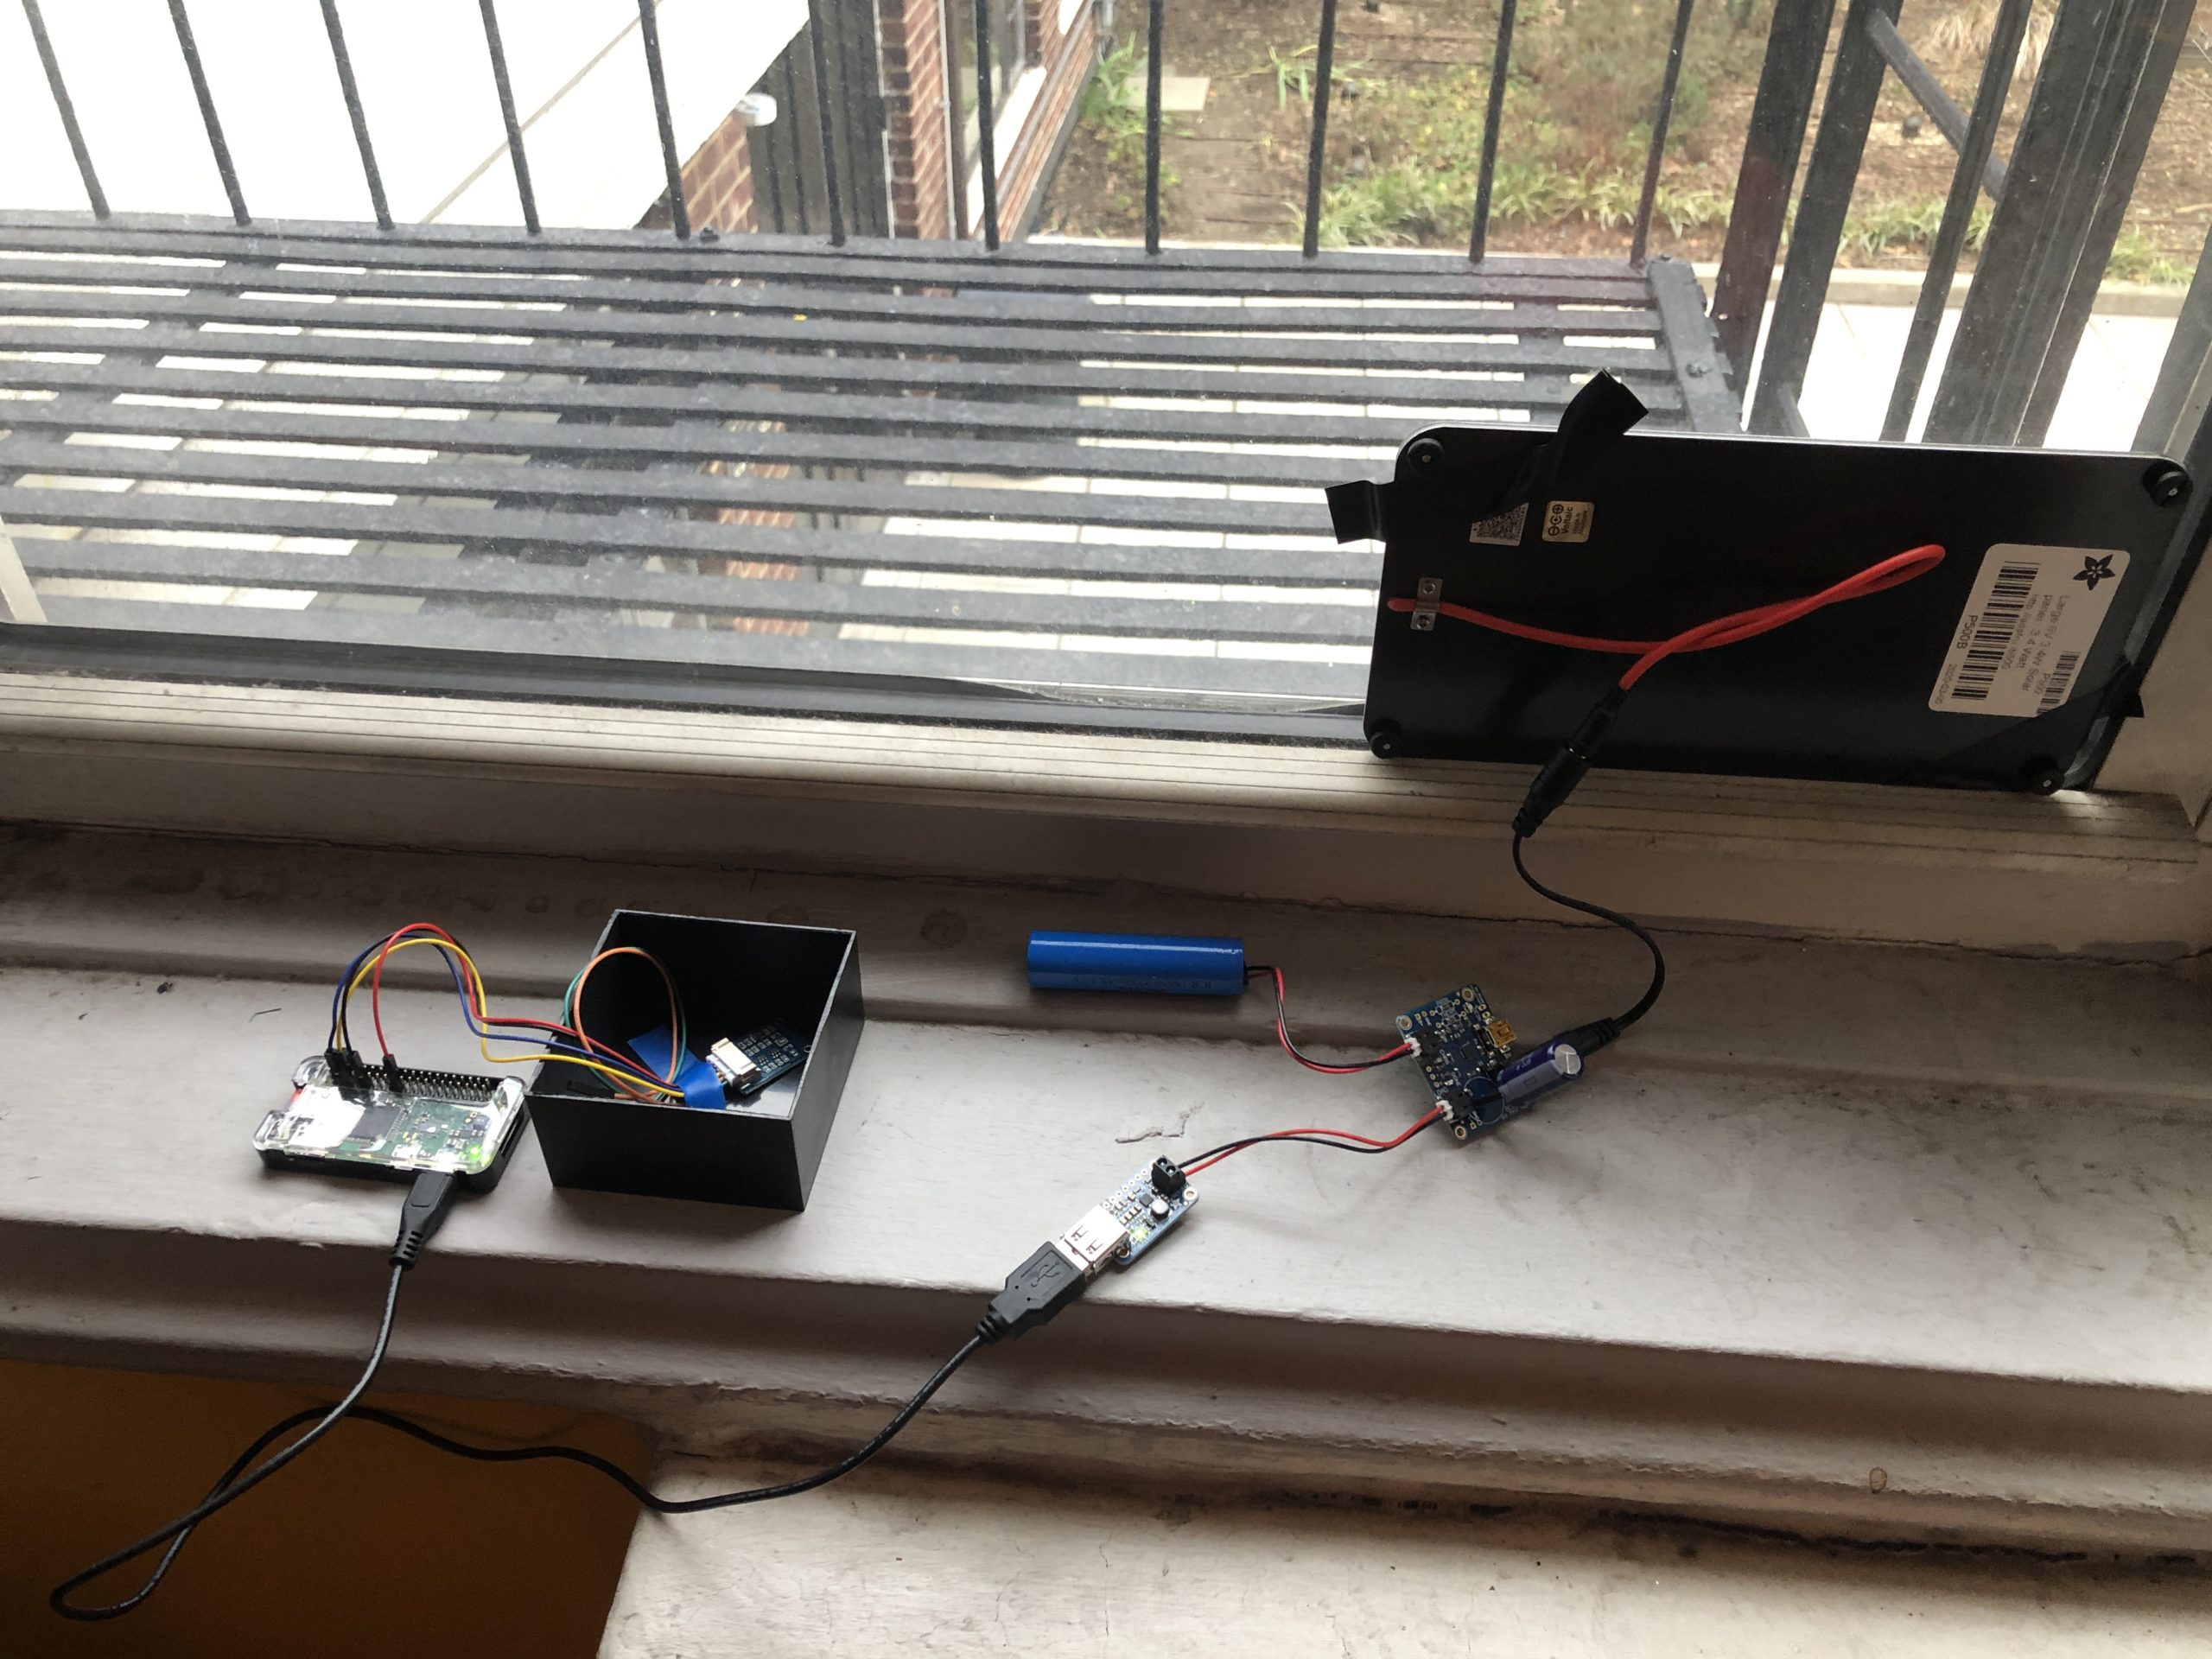
Let’s start with power. My goal is to have a self-powered weather station running off a solar battery rig. I’m happy to say that last week I got a solid four hours of uptime running off a panel and attached 2000 maH LiPo battery.
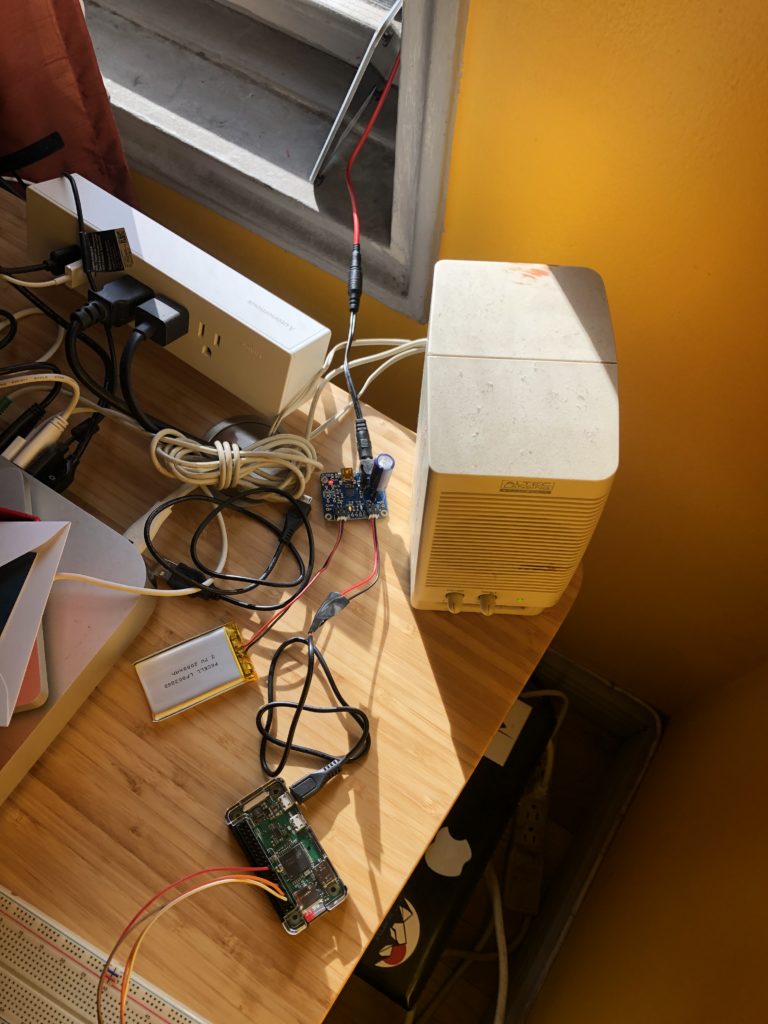
This has been something I started last summer, but there was a critical component I needed. I started with the panel, the charger, and battery. I also needed a cable to connect to panel to the charger. Needing a cable to hook the Pi up, I cut an existing USB cable and spliced it to a 2-wire JST. The rig pictured below worked for a couple of hours, once.
Once. Never did work again. I figured it was my splicing skills.
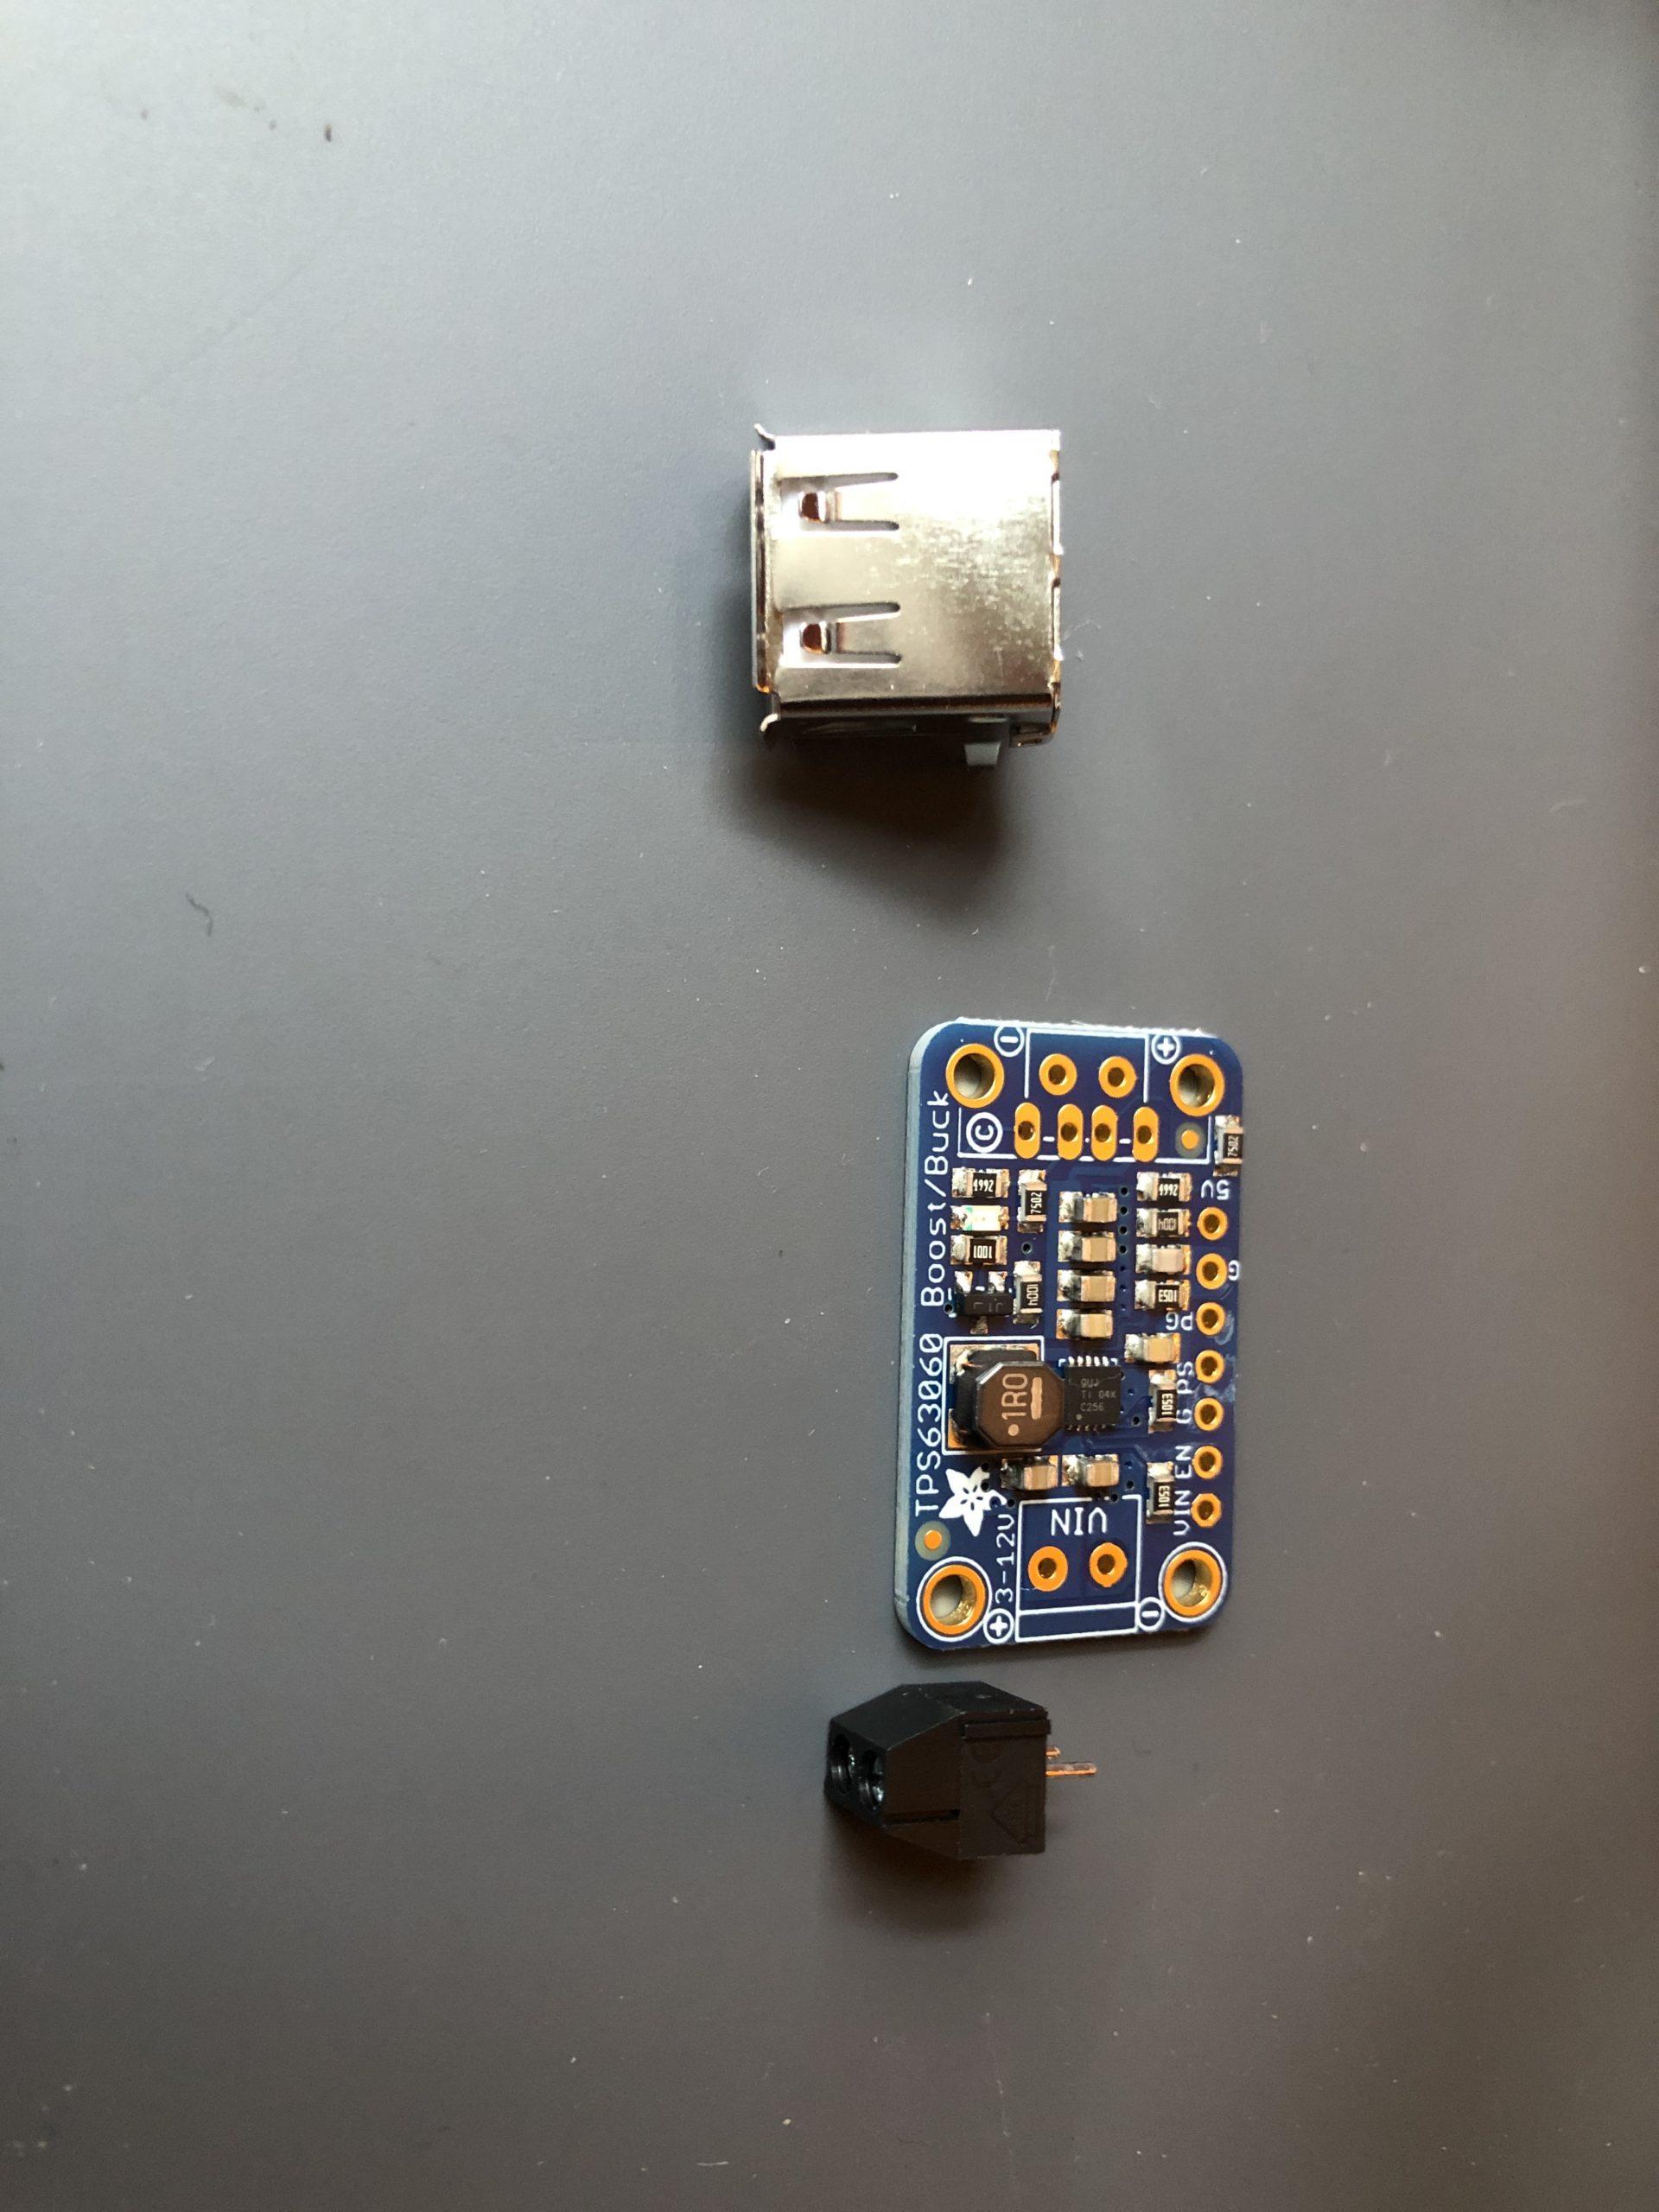
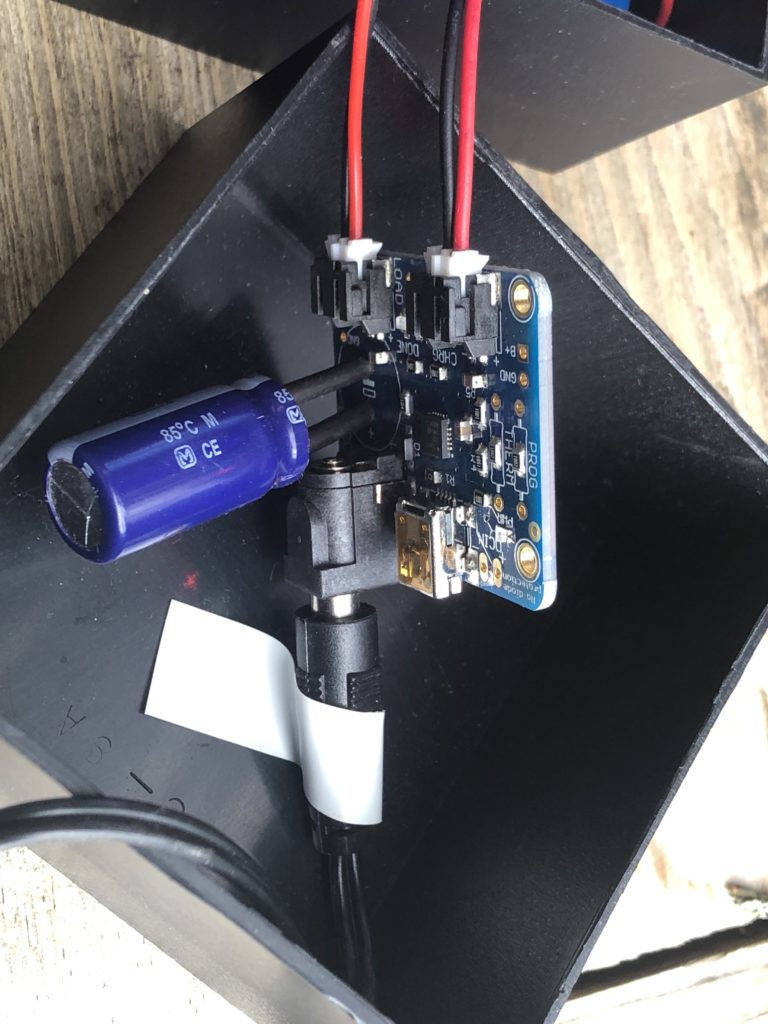
Nope! What I needed was a ‘verter: a bit of kit that would smooth out the voltage delivery between the charger and the Pi. I tried a PowerBoost, but that wasn’t consistent.
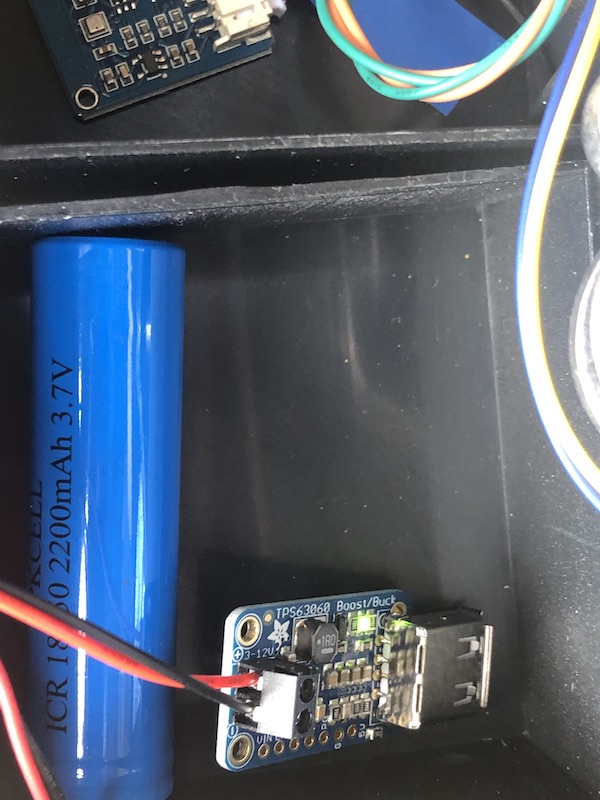
The Pi (and we’re talkin’ Pi Zero W) wants a nice, smooth, 5 volts of power. The ‘verter is a “Buck/Boost” capable of doing more than what I require, but more than the PowerBoost.
Also, it comes with screw terminals. Gads – how did I live without screw terminals before?
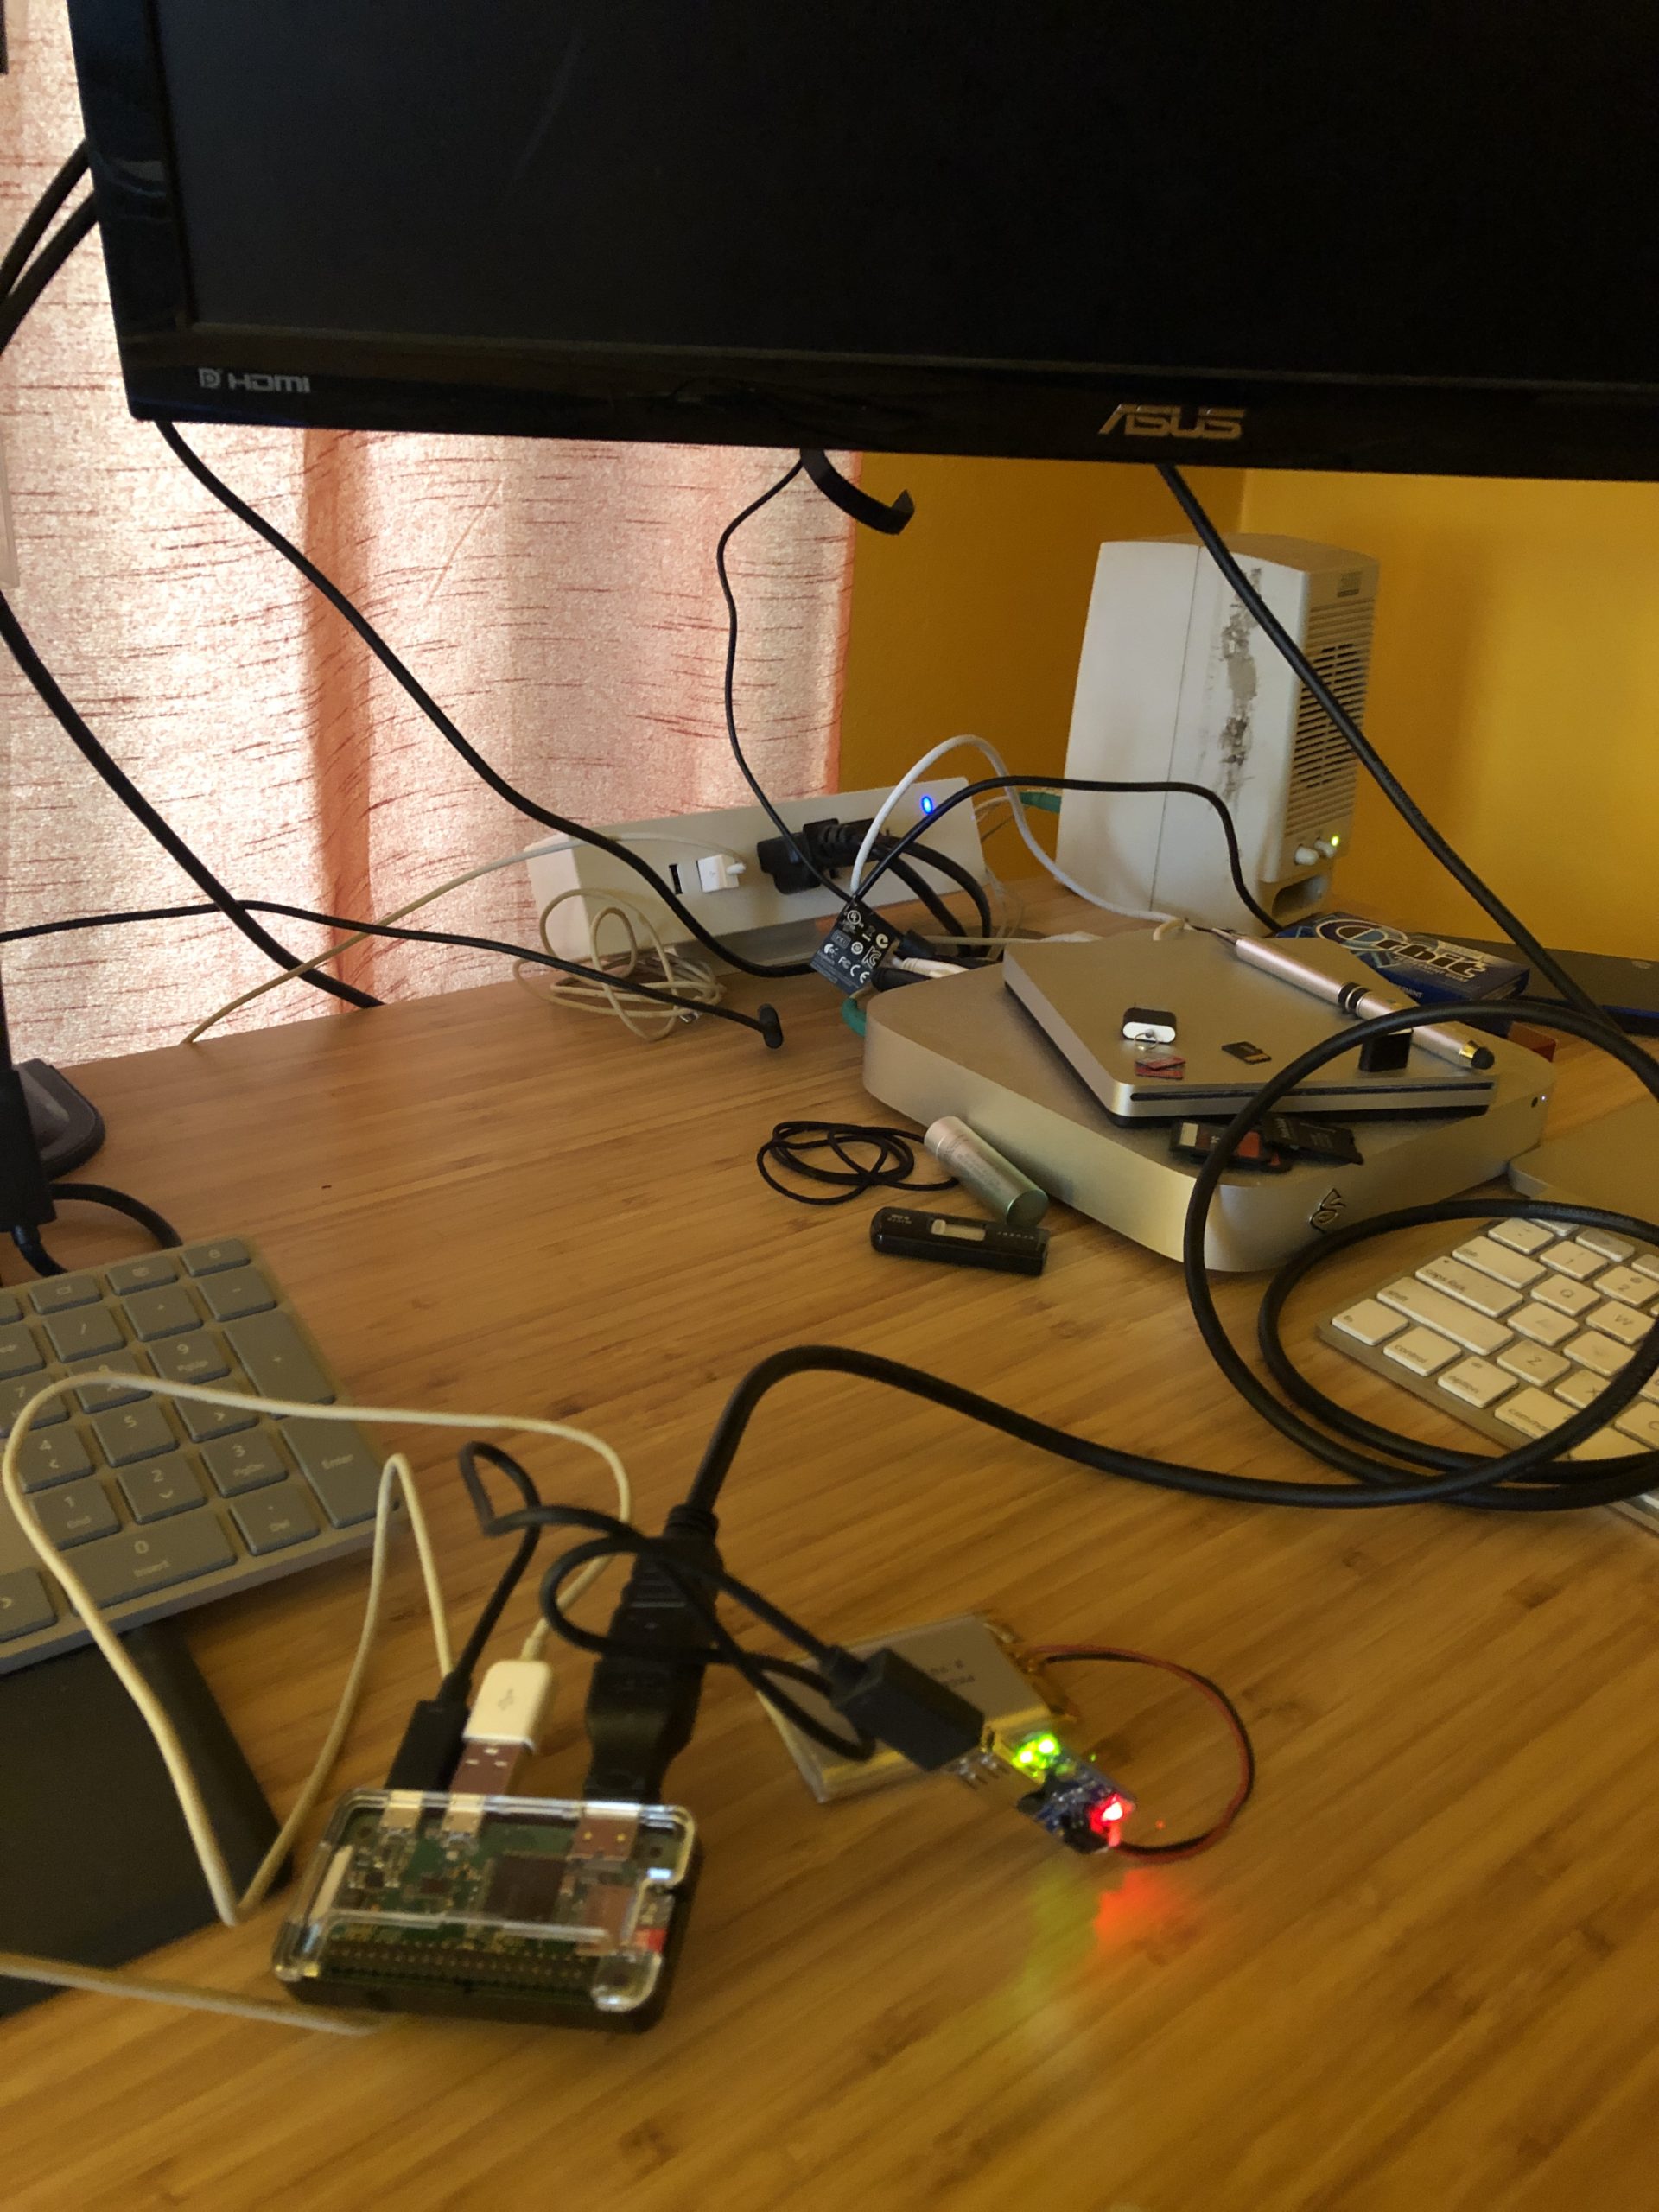
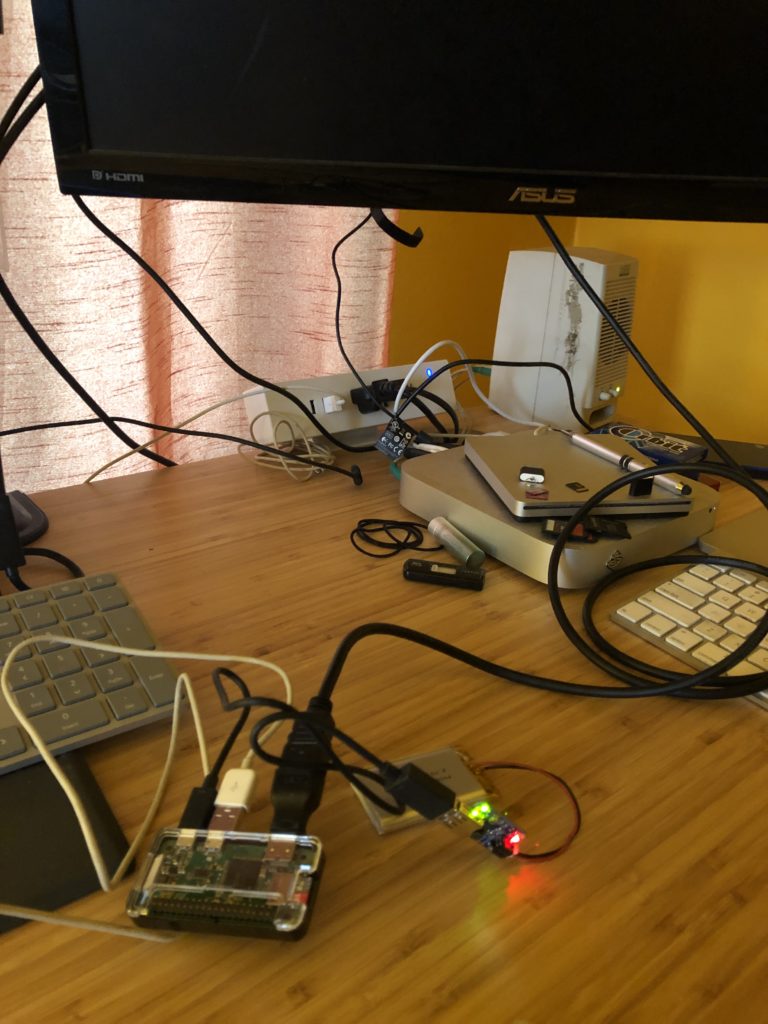
It’s at this point that I left the panel taped in a window for a week, hooked up to a battery (different, 2200 maH), with a sensor to gather telemetry. This worked well for a few hours.
At Mister Techlemode’s house, I set up this rig outside, attached to various weather sensors. It worked for a bit – but then the wires on the flat LiPo detached from the battery, and since then, solar’s not been working, even with the other battery.
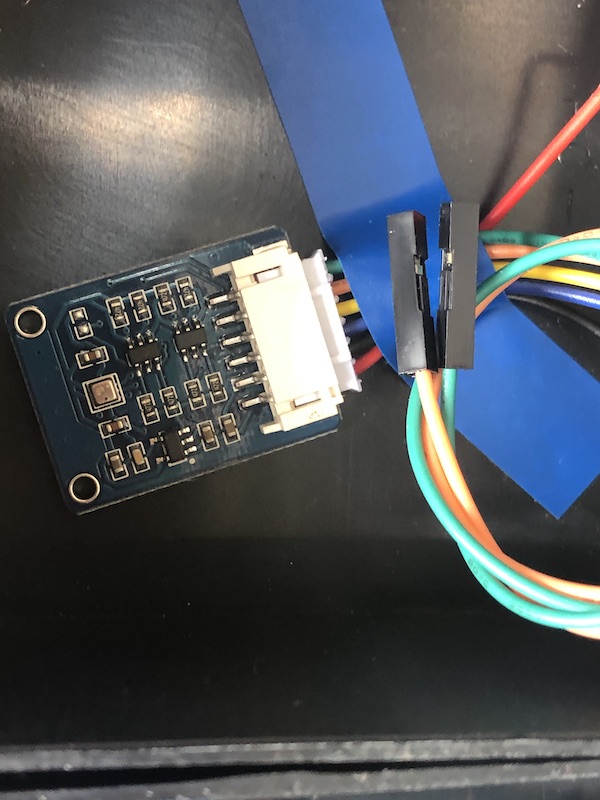
Let’s put that in the parking lot and talk about sensors. I didn’t take as many pictures, so let’s let the BME280 stand in, or as I call it, “our good friend the BME280”. I have four of these in various configurations.
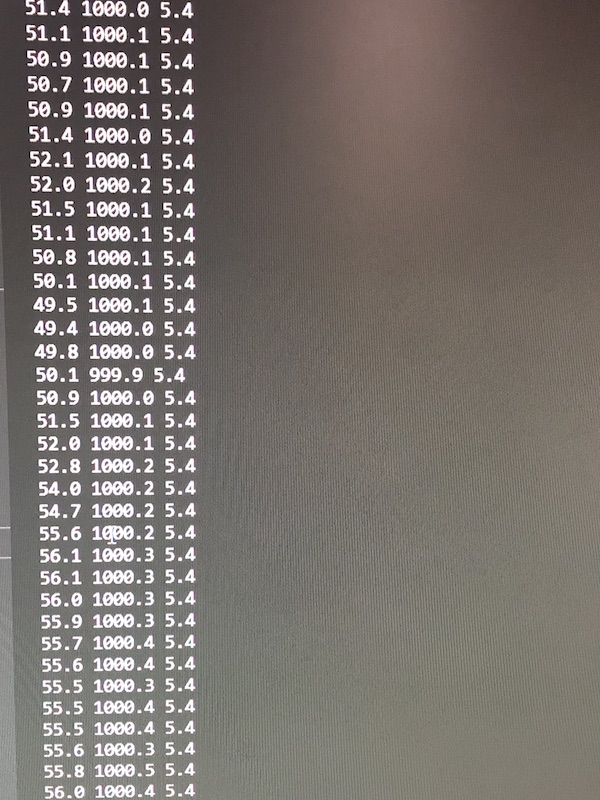
The BME280 is a sensor made by Bosch that measures temperature, humidity, and barometric pressure. There are other sensors that do the same, but the BME280 shows up in a lot of tutorials, and it’s cheap.
Bosch also makes our dishwasher, and we’ve been very happy with that. Also the windshield wipers on my car. Bosch makes a lot of things.
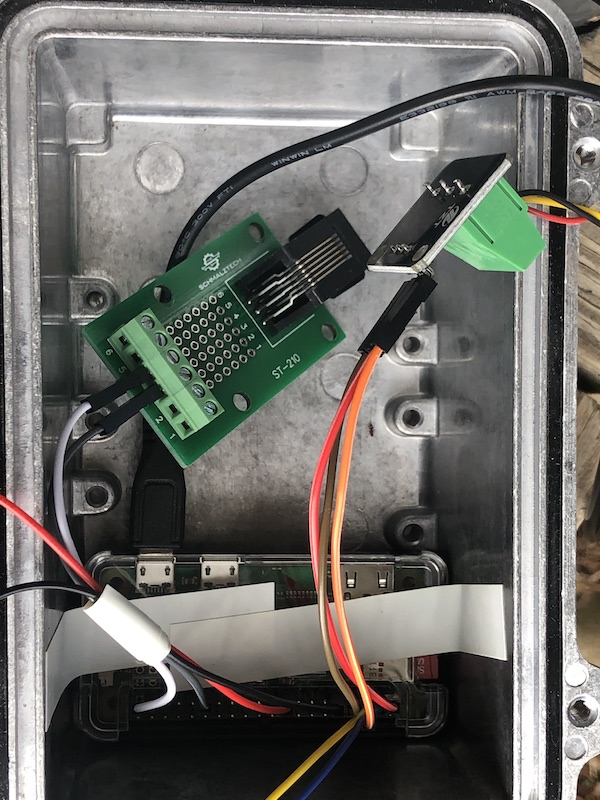
This particular model shipped with a six-wire header already installed, with a cable to match. on my first BME280, I had to ask Mister Techlemode to solder the headers on (something I’ve learned to do myself since then). I only need four of the wires, so I had to read up a bit on which pins and therefore which wires to connect to the Pi, but in short order I had a working script.
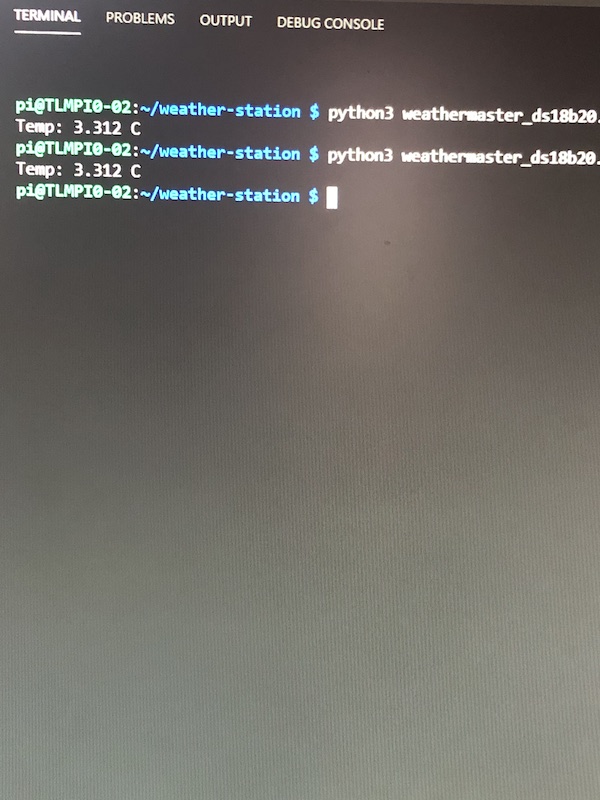
Not pictured: the DS18B20 ground temperature sensor, mounted in a metal probe on the end of a cable. That has three wires: power, ground, and data, and they go into a small board with a screw terminal and connections for jumper cables that connect to the main board. This was a bit more of a trick, mostly trouble seating one of the wires in a screw terminal.
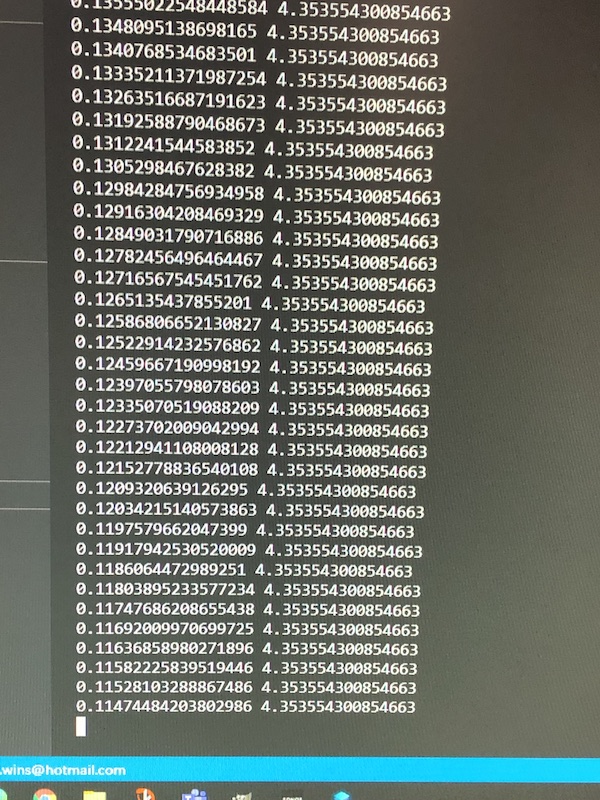
Also not pictured is the mechanical sensor array: the anemometer, the wind vane, and the rain bucket.The latter two require more complex coding, so I called it a day with the anemometer once I got wind and gust calculations. This connects daisy-chain style via 2-wire RJ-11 to the wind vane, which then connects to a board with an RJ-11 on one end and screw terminals on the other.
I got all this – solar, sensors, line power once the solar failed – hooked up on the front porch, within range of the house wifi.
I shelled in using VS Code on my Surface Pro to the Pi, opening three terminal sessions, one for each of the programs (BME280, DS18B20, anemometer). I got telemetry from them all.
This answered a lot of questions, and gave me a great boost of confidence.
I can do solar. I can do battery. It’s a question of how long (and why the #%^! isn’t it working now).
I can get telemetry from the BME280.
I can get telemetry from the DS18B20.
I can get wind speed and gusts from the anemometer.
I need to solve the power problem, but that’s not a blocker to the next parts of a functional weather station: adding the wind vane and rain bucket, and recording that data in a meaningful way.
Once I’ve done that – and solar can be in parallel, not a blocker – I can start on how to remotely send telemetry to the cloud using LoRa.
Update: I found the Python libraries for Azure IoT, and an example script for sending telemetry to an Azure IoT hub.
After months of gathering dust, this project has hit a bunch of milestones in very short order.
1 thought on “Pi Progress”