One of my goals for my Raspberry Pi sensor rig is to put it on something that flies and record telemetry data.
While I work on the send-telemetry capability, I figured a quick test of the ability to record telemetry locally (that is, on the Pi) would be useful. I also introduced a switched power element, so I could connect the battery and Pi etc and not start it up until I wanted to.
After adding the recorder script into /etc/rc.local and testing with a quick power cycle, the next step was to come up with some sort of housing to keep the electronics safe from the elements. I also wanted the BME280 separate from the Pi.
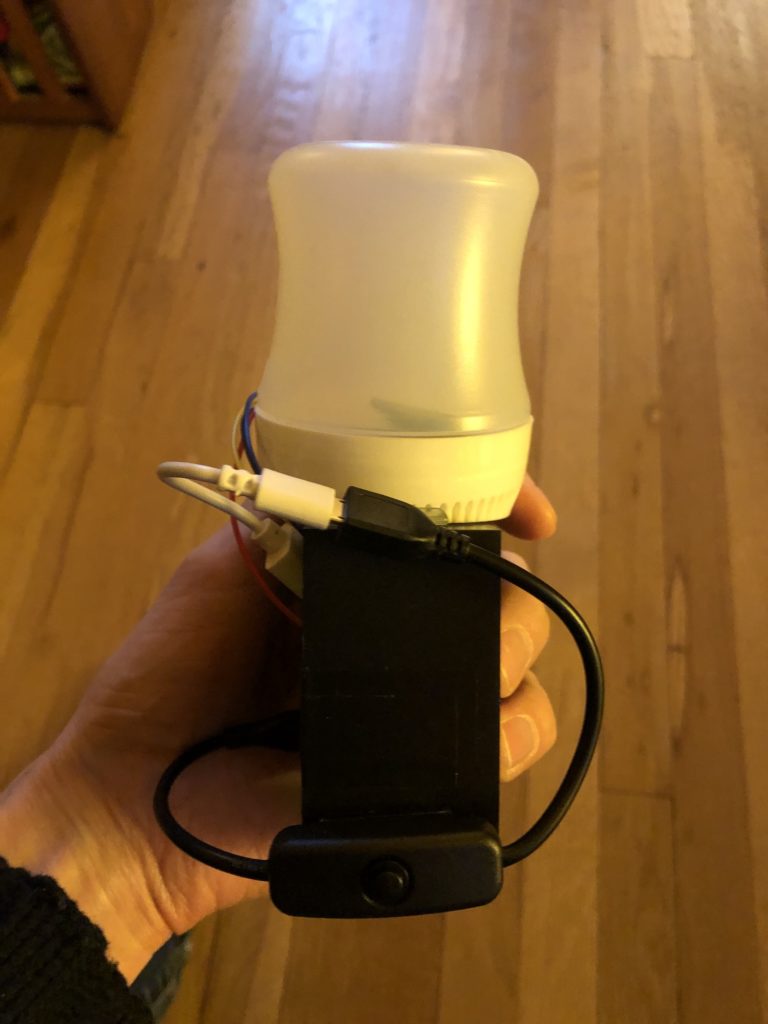
While it’s not ideal, it was good enough: a mix of 75mmX75mm five-sided box and an old Orbit gum container. I used hook-and-loop (commonly known as Velcro) tape to hold the pi and switch in place. I wasn’t keen on doing that with the battery though.
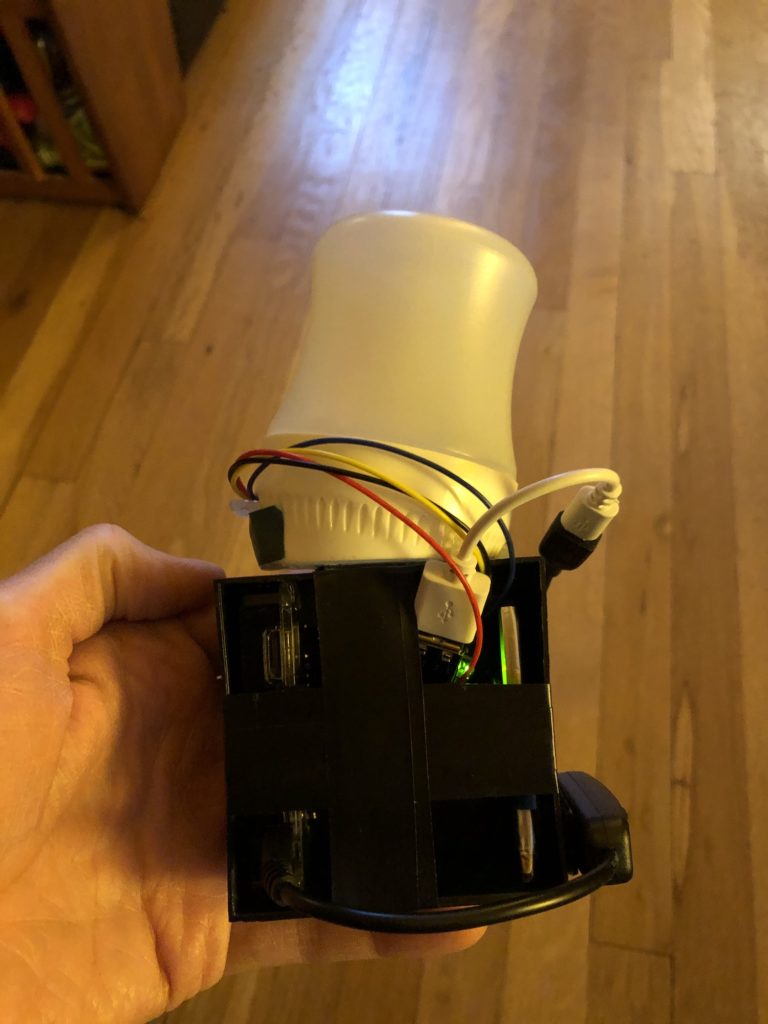
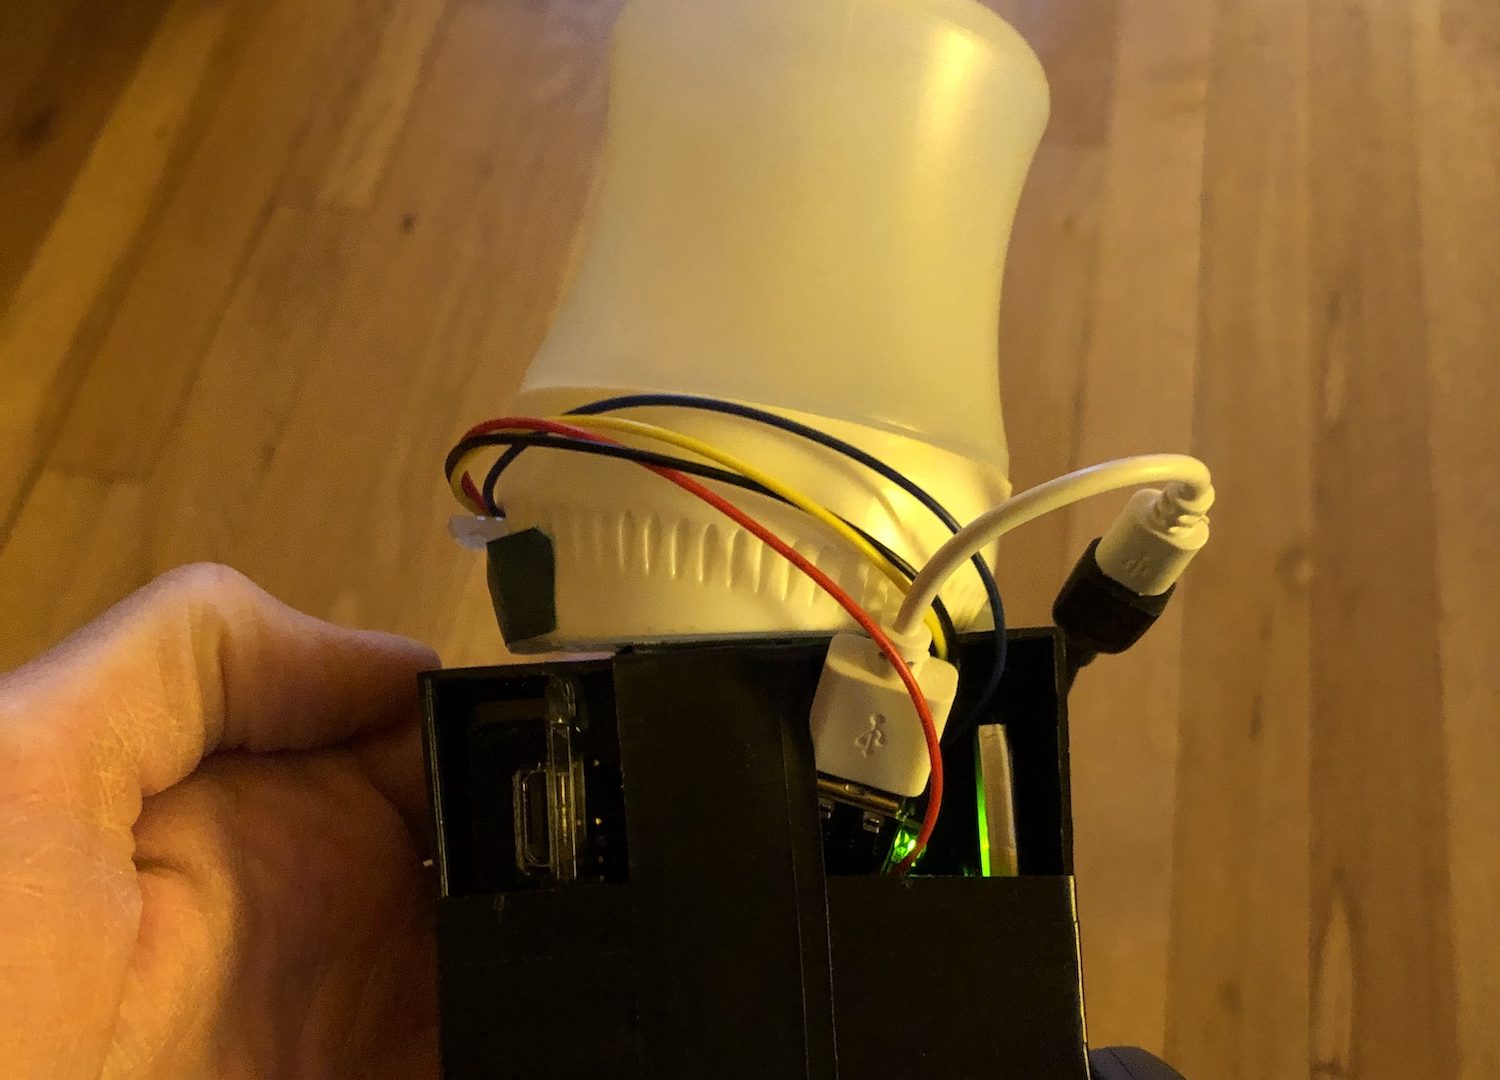
Looking left to right, in the photo above, you can see the Pi oriented with the microUSB headers out; the GPIO bus is aimed sideways inside near the bottom. The push-button switch arcs from the Pi to where the switch itself is mounted on the outside right. That wire curves down (away) and back, connecting to the short USB adapter, to the PowerBoost 500, which sits nestled in the box.
I ran electrical tape just to keep things from falling out. The BME280 hangs loose in the Orbit gum container, with the wires running through the dispenser lid back to the GPIO bus. Electrical tape mounts it to the box.

With that, I hung the rig outside my window, with a short loop of rope around it just in case the weather got frisky. I started it up a little before 1700 and let it run – it was still alive when I went to bed – though I brought the rig inside, and left it to run until it ran out of power.

The next morning, when I checked, I learned it didn’t last much longer, but it did last quite a while. The recorder script records an entry every 2 or 3 seconds (it’s rounded), and the last modified was shortly after midnight, so on a 1200 maH battery, I got nearly eight hours of runtime.
The Data
I had a bit of trouble getting the file copied over. SCP should work, but for some reason didn’t. After noodling around and grumbling for a few days, I installed WinSCP and within minutes, had copied the file over to my Surface Pro. This was after looking at the file in nano on the Pi several times.
The data is recorded as a .csv, which meant it was easy to open in Excel and slice the data up. The first thing you should know is, most testing was indoors, so the average temperature fluctuates around 22 C. The second thing is, I ran this in “append” mode, so I had plenty of data from every time I started this rig up, once I made it a startup item.
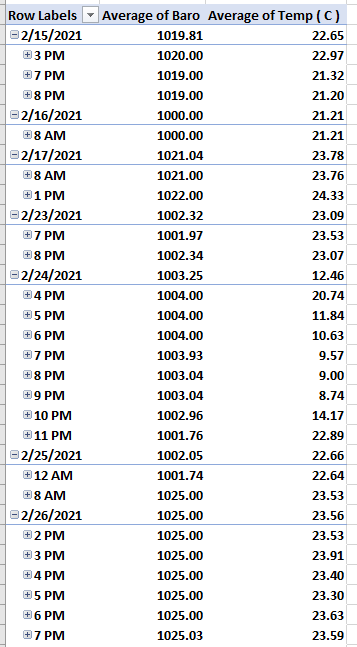
One curious thing I’ve noticed with the BME280 is that the way it works is gradually. For example if you plunge stick it outside in winter after being in a comfortable room temperature, recording every second or two shows a gradual decrease. The sensor itself reacts slowly enough that you can practically see it heating up or cooling down.
The next thing I’m going to do is run this again, but only recording data every minute. I’m also going to see if I can add Fahrenheit as an additional entry. Eventually though, recording locally will just be a backup to transmitting data . . .somewhere.